
Editing a shift or event is simple! From the Schedule Overview, click the week view option and then click the individual shift or event you would like to edit.
A pop-up screen will appear where you can edit the details of the event. There are four actions you can take when editing an event: View & Edit, Convert to Open Shift, Split Shift, Delete. Be sure to check if send notifications is enabled; if not, the staff member won’t be notified a change was made until they actually look at their schedule!
View & Edit
You can view the staff profile by clicking on the staff member’s name to see their profile details, such as their contact information.
Shift Details allows you to edit shift information, such as date, shift type, notes, and shift toggles including Charge and Overtime.
History allows you to see the history of when the shift was created and by whom.
If you decide you’d like to delete an event, there’s also a red Delete button on this screen as well!
Reassign
You can reassign a working shift to another staff member in the same department by selecting “View and Edit” in the schedule week view.
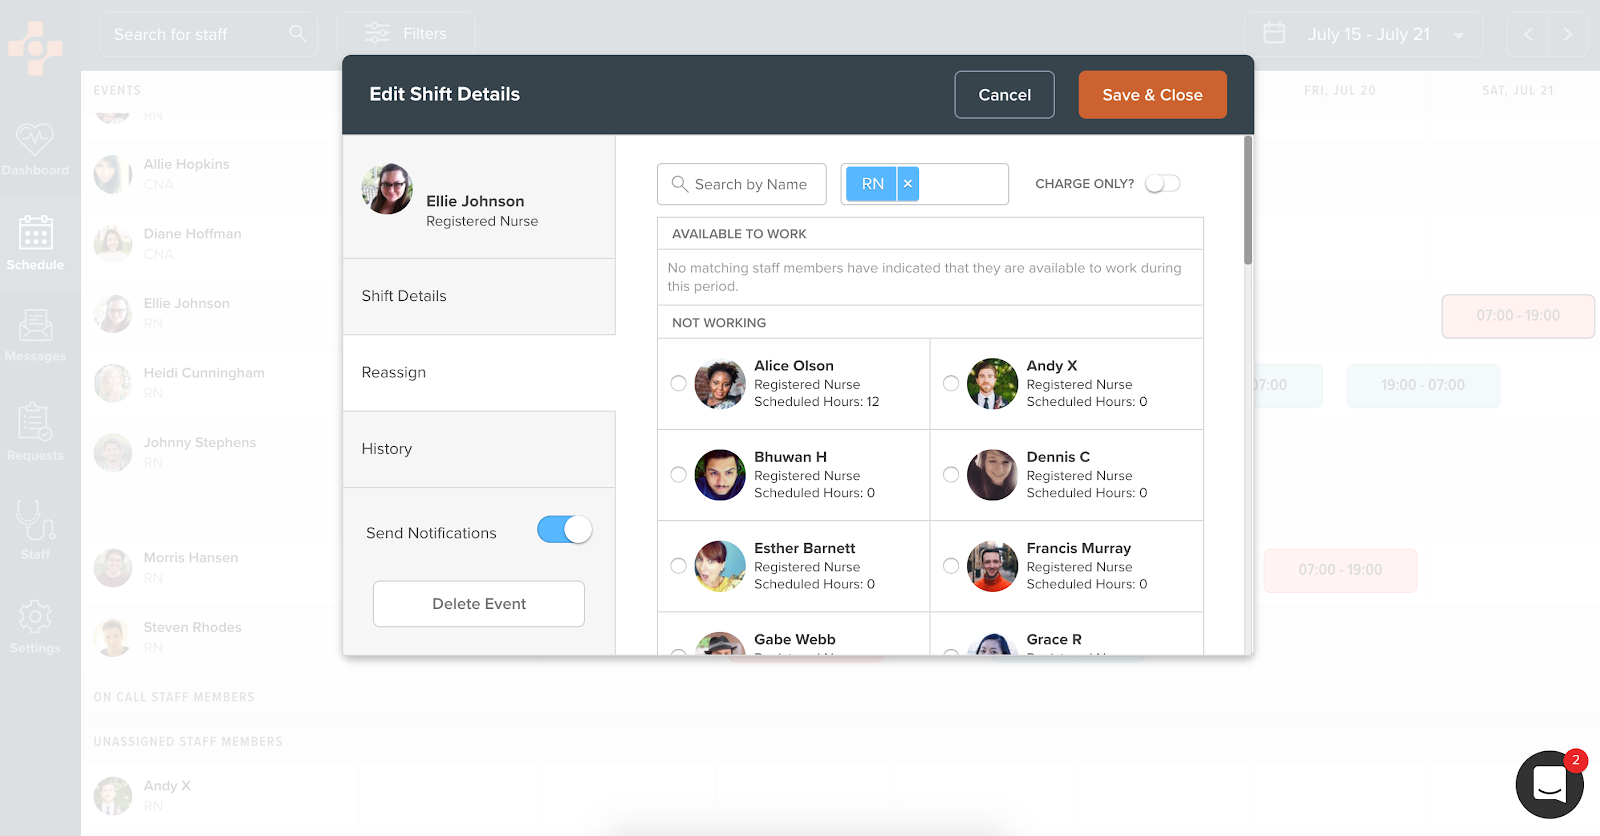
When choosing new staff members to assign to, all staff members in the department should appear, separated by working and not working (these can be filtered by name, position, and charge status).
By default, reassigned staff members do not have to have the same position type. If the employee is already scheduled, a pop-up warning of the schedule conflict will appear, however the shift can still be assigned if necessary.
Convert to Open Shift
You can convert any existing working shift to an open shift request. The option can be found by hovering over any shift in Schedule Week view and selecting Convert to Open Shift. This option is only available for working shift types.
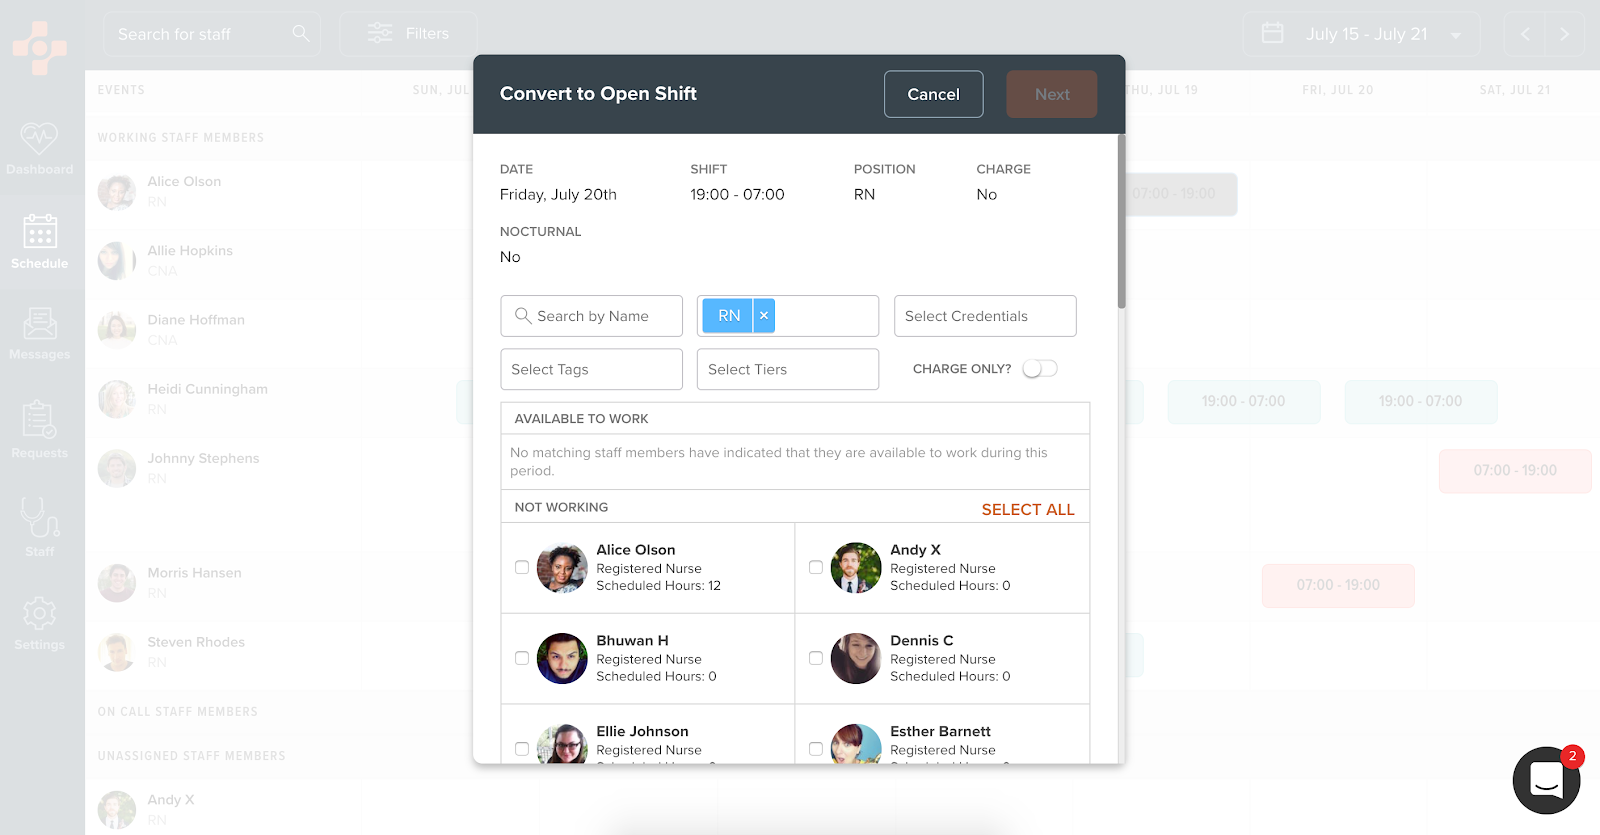
Selecting the menu option will bring up a new Open Shift Request window. The window is broken into two parts:
The first screen displays (non-editable) shift details and allows you to select available staff members as a recipient. Eligible staff can be filtered with the same criteria available when creating an open shift request.
The second screen allows you to enable/disable additional request options and add a shift note.
When the shift is saved, the previous staff member will be unassigned and the shift will be removed from the Schedule view – instead, it will appear as a pending Open Shift Request on the Current Open Shifts page (this will update the Open Shift count for that day in the schedule week view and in the summary view).
Split Shift
If an employee can only accept part of an open shift or can only work part of a previously scheduled shift, you can use the Shift Details screen to separate the previously scheduled time into two different shifts and assign the remainder to another employee. You can search staff members and filter by the criteria at the top of the list of staff (name, position, charge status).

Click and drag the slider to adjust the shift times. The inner split times can be any shift length (for example, an 8-hour shift can be split into 1- and 7-hour shifts). When updating the time in a split shift, the proposed scheduled hours will recalculate at the bottom of the Split Shift screen to display how the employees’ total hours will be affected by this change.
The currently scheduled staff member will auto-populate the first half of the split shift, but you can re-assign them to the second half by clicking the arrows between employee names. If they can’t work any part of the shift, you can remove them entirely and reassign to two different staff members. However, the entire shift must be filled before the event can be saved.
Delete
Click an existing shift in the week view, then click the “Delete” option. The shift will be removed from the published schedule.
