To import your Microsoft Excel or .csv schedule into Nursegrid, follow the instructions on the Schedule Upload page.
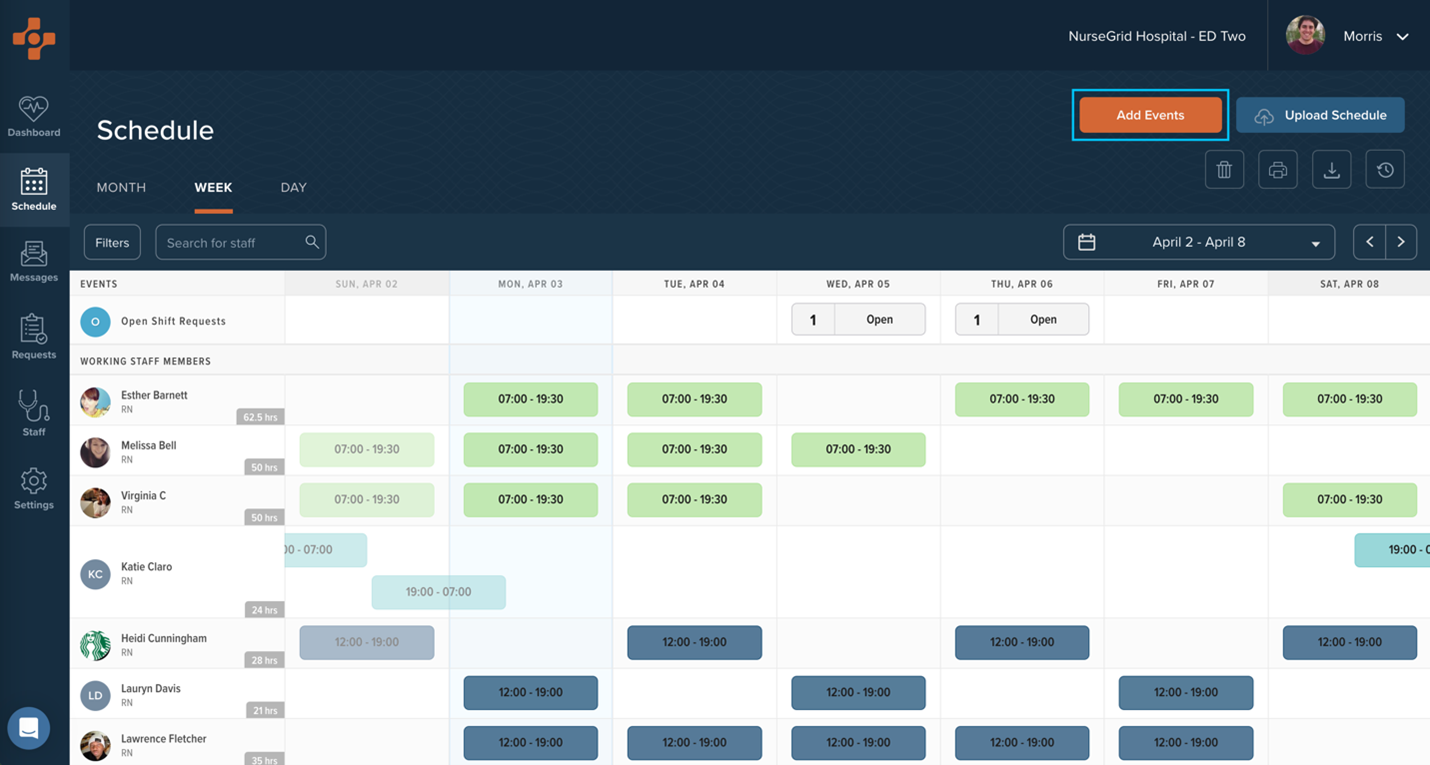
To add an event to an employee’s schedule directly, first navigate to Schedule > Week and click the “Add Events” button. Alernatively, you can click any empty cell corresponding to a particular staff member and a particular date. This will launch the “Add New Events” screen.
In the “Add New Events” screen, you can choose the date(s) for the shift and specify its details (including Event Type, start and end time for custom events, whether the shift is charge/preceptor, mark it as an overtime shift, or add notes).
Once you’ve selected the date(s) and details of the shift, you can then assign the shift(s) to as many staff members as you’d like by selecting Assignees on the left and then checking the box next to your employee’s name. If you toggle on Send Notifications, your staff will receive a push notification that they have new shifts. If the toggle is turned off, your staff will still see their shifts when they log into their Nursegrid account. Finally, click the orange Save and Close button in the top-right corner to create the event(s).