🍎 Meet your new career companion, Nursegrid Learn. 👋
Quick Start Guide
Step 1 - Tell Your Department​
Step 2 - Invite Your Staff​
Step 3 - Customizing Your Department Settings​
Step 4 - Adding Your Schedule​
Step 5 - Filling the Holes in Your Schedule​
Mission Complete

Quick Start Guide

Getting Started in 5 Simple Steps

We’re excited to have you and your staff using Nursegrid Manager, a platform created by nurses solely for healthcare managers in the professional world! This five-step guide will help you get started with Nursegrid Manager.
messaging-icons
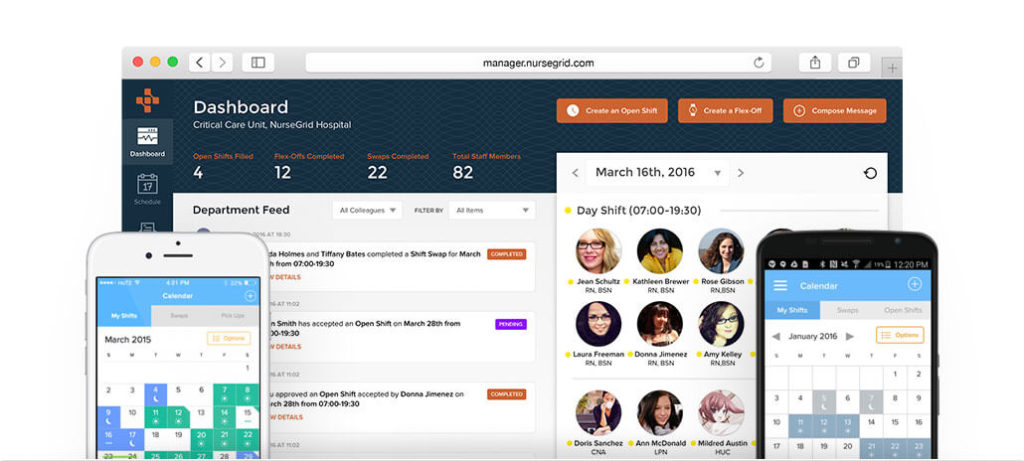
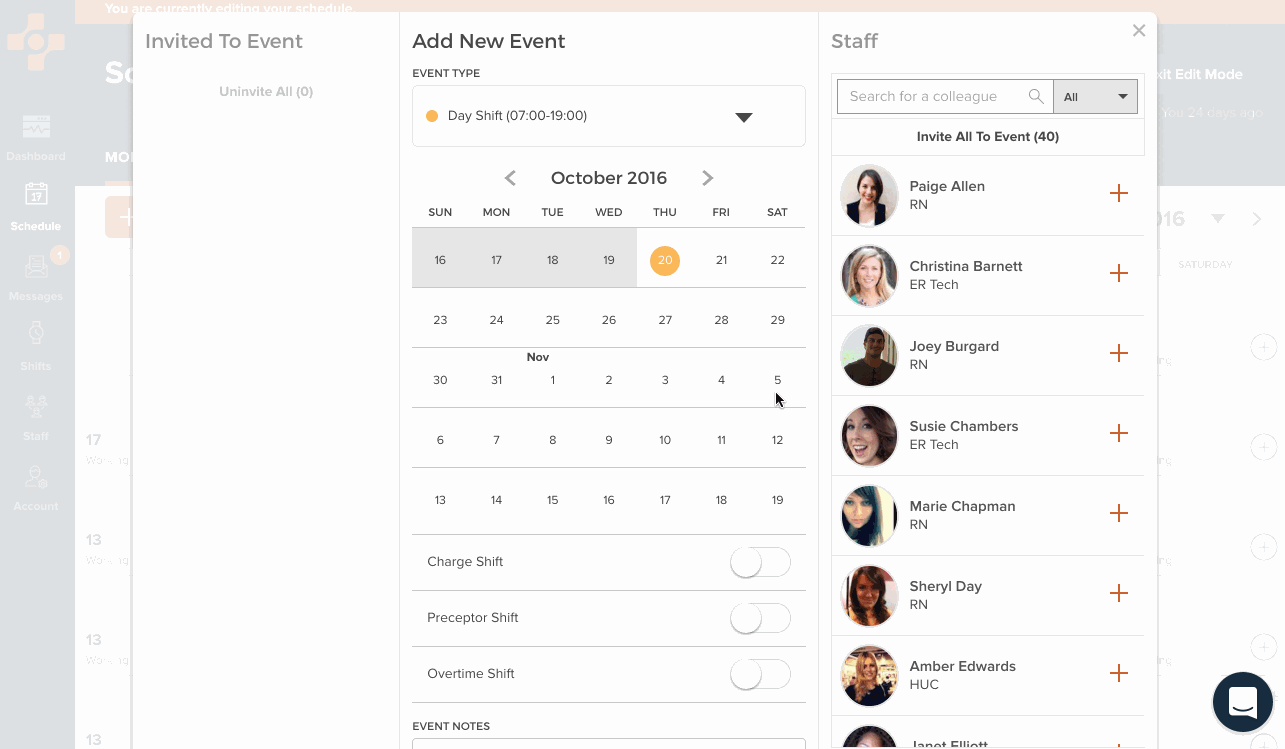
Communicate with your staff

Nursegrid Manager gives you a centralized platform to communicate with nurses in real time on whatever device they’re using.

schedule-icons
Approve schedule changes
Let’s face it, a final schedule is never final. Using Nursegrid Mobile, your staff can arrange shift swaps based on their own schedule needs and colleagues’ availability, and submit directly for your approval.
realtime-icons
Fill last-minute shifts in real-time
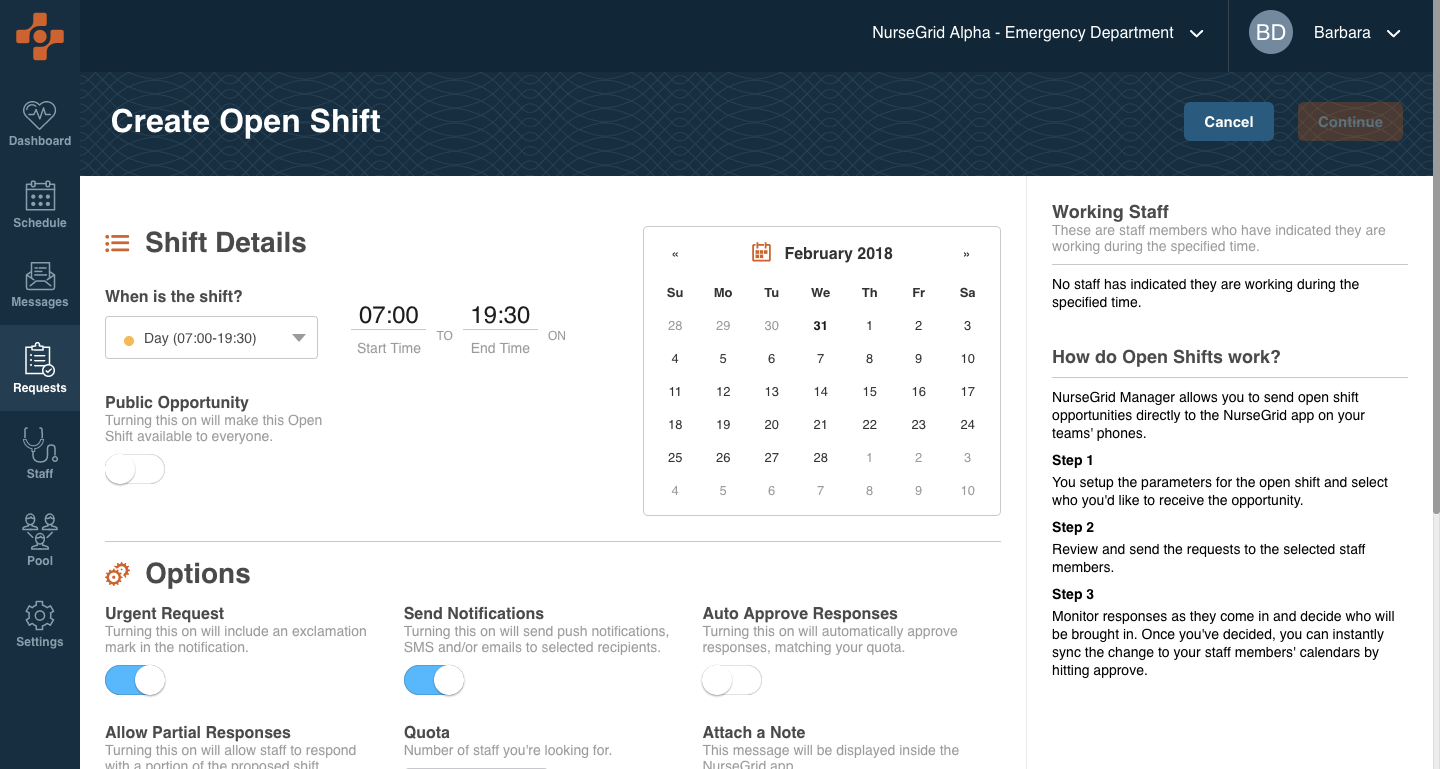
Nursegrid Manager lets staff easily update their willingness to work or be flexed off as it changes, giving you the insight to make the smartest staffing decisions as staffing needs arise.
manage-icons
Manage your schedule, all in one place
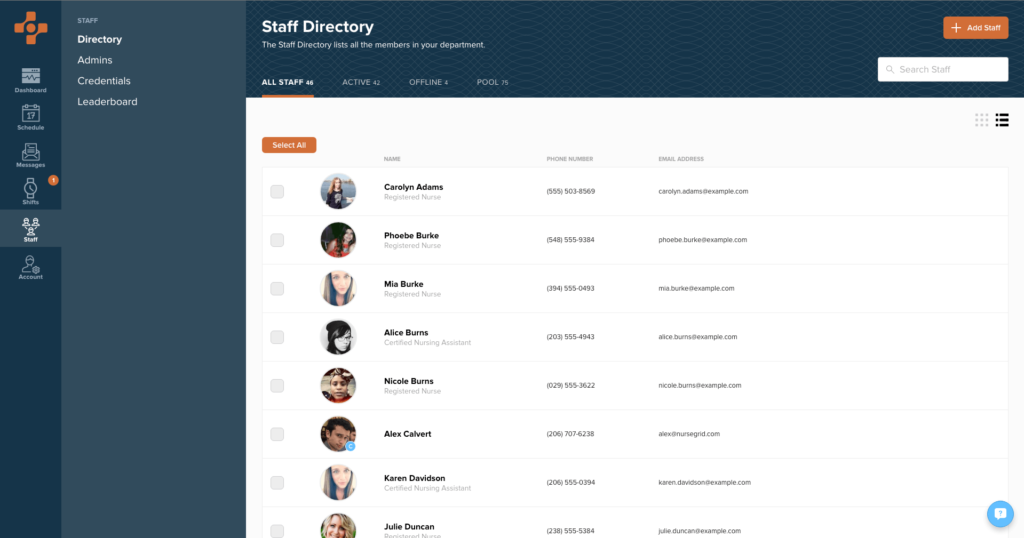
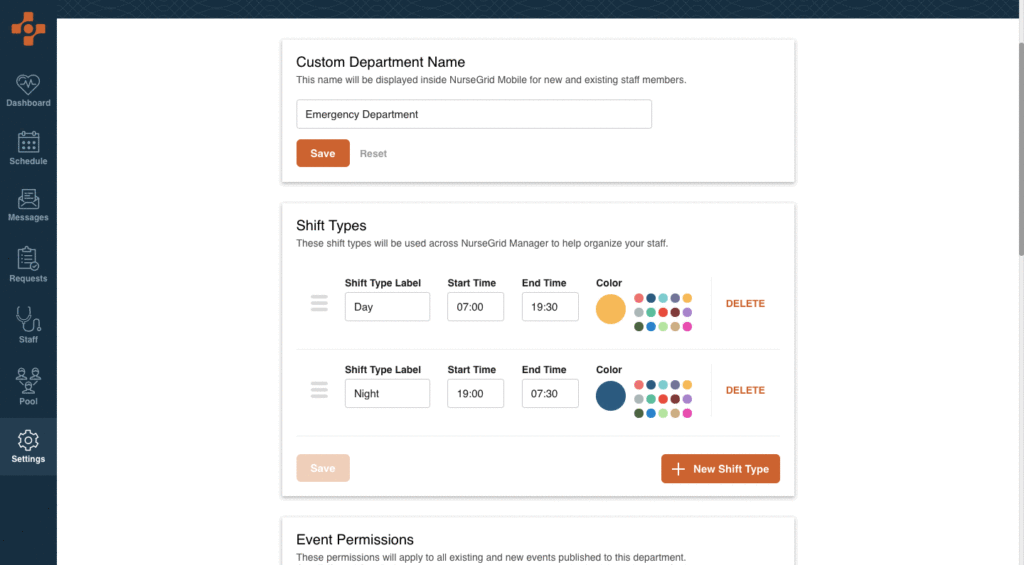
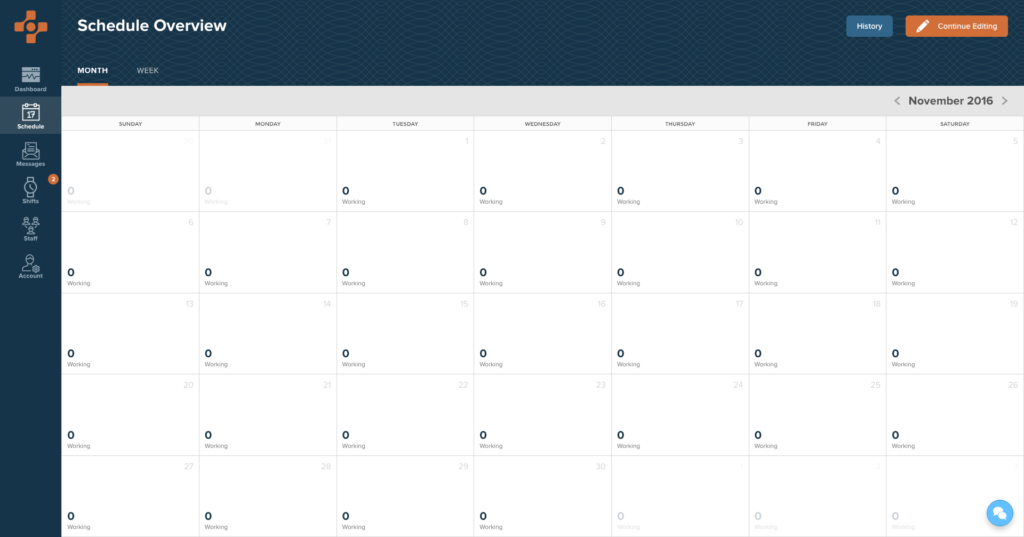
Nursegrid Manager can become your  hub to view upcoming shifts, update your department directory, edit team credentials, and send next month’s schedule directly to your staff’s mobile devices.

Step 1 - Tell Your Department

Nursegrid was designed with the success of your staff in mind, and getting your team on the mobile app is the first step in using the manager platform’s full capabilities! When introducing your team to Nursegrid, we recommend providing your team with an overview on the app itself, and how downloading the app and connecting with one another will benefit your department. Here is a sample e-mail that you can send to your team with details on the app and instructions to download.

We’ve also created a digital flyer that you can post to your department’s bulletin board. This can be extremely helpful when informing your team about Nursegrid, especially if you are currently printing your schedule and posting it in your department.

Now that your department has a better understanding of Nursegrid, it’s time to invite them to join directly through the app!

Step 2 - Invite Your Staff

Inviting your staff to use Nursegrid can be done directly through the manager platform! Find your staff by hovering over the Staff tab on the left and click Directory.

Active Staff are individuals who already have the mobile app downloaded and have activated their accounts. Offline users are individuals who need to create their account. You can easily invite these Offline users to download Nursegrid following the steps below.

  1. Click on the Offline section of your Staff Directory
  2. Select specific staff you’d like to invite or choose Select All
  3. Options will appear at the top of the staff list – Send SMS invite or Send Email Invite. Select which invite (or both) you’d like to send to your staff!
  4. Invites will be sent to them with a link to activate their account and to download Nursegrid Mobile!

Pro Tip: Do you have schedulers or other staff who will also be using Nursegrid? You can learn more about inviting staff to Nursegrid Manager in our Admins Section.

Step 3 - Customizing Your Department Settings

The first step in setting up Nursegrid Manager’s scheduling feature is to add your department’s standard shift types in your department settings which can be found under the Settings tab. This enables you to customize your manager schedule with shifts specific to you and your department, and can be changed at any time.

Once your shift types have been added, it’s time to upload your schedule to your staff’s calendar! Learn more about other customizations you can make within your department settings here! 

Step 4 - Adding Your Schedule

With shift types added and your staff invited to Nursegrid Mobile, you’re ready to start using the schedule feature of the manager platform!

There are two ways to add events to the schedule:

  1. Uploading your schedule from an Excel doc or scheduling export.  Your dedicated Account Manager would be more than happy to assist you on your first upload to ensure you are successful – feel free to reach out!
  2. Manually adding events to the schedule.

To manually add an event on the schedule:

  1. Click on the schedule tab on the left to access an overview of your department schedule
  2. Select “Continue Editing” in the upper-right and click on your calendar to open the week view
Once you’ve filled out your entire schedule, this view will provide a glimpse at your staff’s schedule for the week, as shown above. For now, let’s start by creating an all-staff meeting by clicking the “+ Add Event” button.
Since this event will include the entire department, you can select “Invite All To Event” from the “Add New Event” screen, moving your entire staff left of the schedule. Now you can set your event details, as outlined in our example:

It’s important to remember that your schedule will not be sent to your staff until you have published it. Select “Review and Publish” to review your schedule changes and make any necessary revisions. Then click Publish!

Congratulations! Your team has now been notified of your upcoming meeting, a glimpse of what is possible with Nursegrid’s Schedule Management feature.

Step 5 - Filling the Holes in Your Schedule

Nursegrid Manager allows you to send open shift opportunities directly to the Nursegrid app on your teams’ phones. Here is how to fill an open shift:

From the dashboard screen, click Fill Open Shift near the top right side of the screen. You can also find the same button by hovering your mouse over Requests on the left side navigation menu and selecting Open Shifts.

  1. Select the Shift Type from the dropdown menu
  2. Click on the day(s) you are in need of staff for that particular shift
  3. Customize the settings for this open shift opportunity – more details on the customizations can be found here! 
  4. There are three different lists your staff may appear in, depending on their schedule on the days you’ve selected.
    • Available to work: Any team members that have specifically indicated they are available to work from Nursegrid Mobile will appear first.

    • Not Working: Team members who have not indicated their availability, but are also not working during the shift times specified will appear in this list.

    • Working Staff: If your staff is working during at least one of the shifts specified, they will appear in this final list. You can still send these individuals the open shift opportunity, but will be prompted with a confirmation message prior to selecting Continue in the bottom-right of your screen.

  5. Once all of the details are entered and team members are selected, click the Continue button at the bottom of the screen.
  6. The following screen will show a summary of the open shift, so you can confirm everything is correct before hitting the Send button at the bottom of the screen.
  7. All created open shift opportunities will now appear in your Open Shift Details after the request has been sent out. You can always leave this screen and make your way back to it by clicking into your Request – Open Shift tab on the left side menu and then select it from the current open shifts.
  8. Sit back and wait for your staff to pick up these opportunities! Learn more about responding to open shifts here.

Mission Complete

You’ve completed our guide on getting started with Nursegrid! You and your staff are now ready to start using Nursegrid when managing your shared schedule, communicating with colleagues, swapping shifts, filling open shifts, and much more!

If you or any members of your team planning to use Nursegrid Manager would like to set up a live training of all platform features, feel free to reach us directly in the app by clicking on the icon at the bottom-right of the screen, or contacting us as success@nursegrid.com.

You can find this guide, along with other support material for you and your staff, in the Help page of the platform under your Profile drop down. Don’t hesitate to reach out with any questions or just to say ‘Hi!’ – we love hearing from you!

—The Nursegrid Team

Share to: